OLDER PROJECTS
This page includes builds that were part of our Halloween yard displays.
Pirate Cave
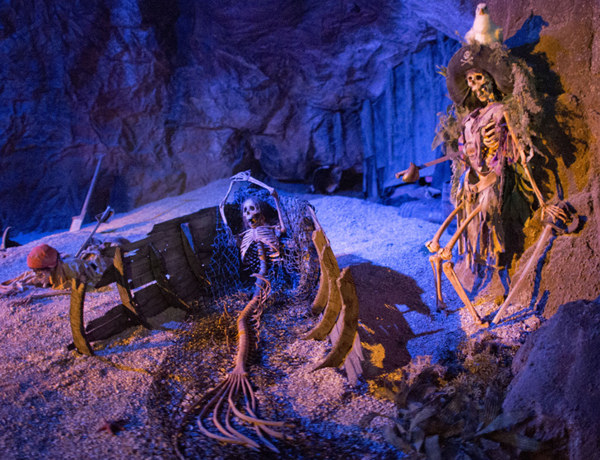
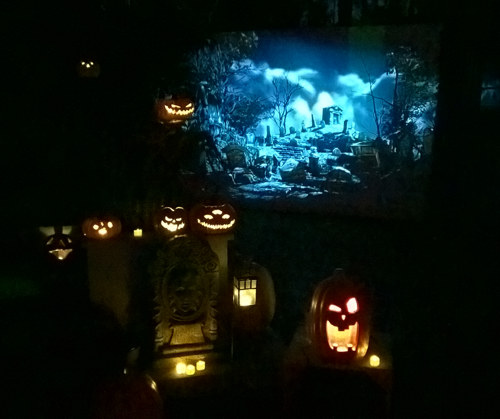
The big project in 2020 was to build a large scale cave structure to cover the dead pirates and mermaid scene and provide a large rear-projection screen behind the scene that was used to display a variety of animated undead sharks and pirates.
The structure was constructed with a custom frame built from sturdy pipes (really chain link fence top rails) and welded connectors. The screen at the back was formed from a seamless 15'x10' canvas dropcloth. The framework was covered in a heavy duty 35'x15' tarp. An "ocean waves" light attached to the ceiling bathed the scene in rippling light caustics. Pieces of a second tarp in front of the canvas and connected to the rear frame formed a sort of silhouette of small stalagmites and stalactites while much larger stalactites and stalagmites made of spray foam hung from the ceiling to complete the look of the inner cave.
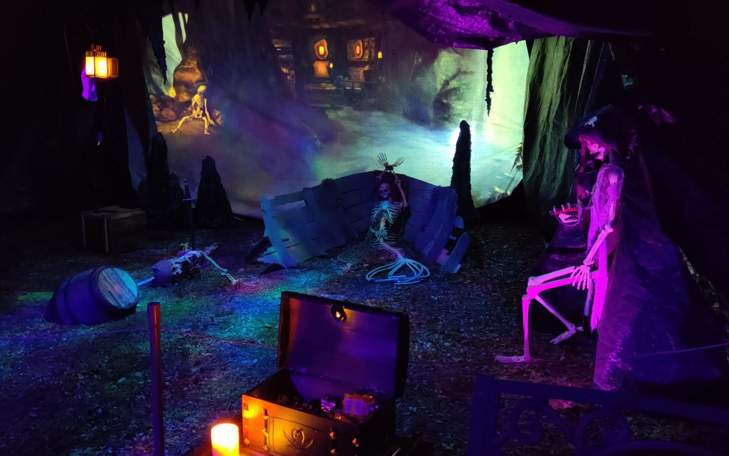
At night. The treasure chest in the foreground held candy for kids.
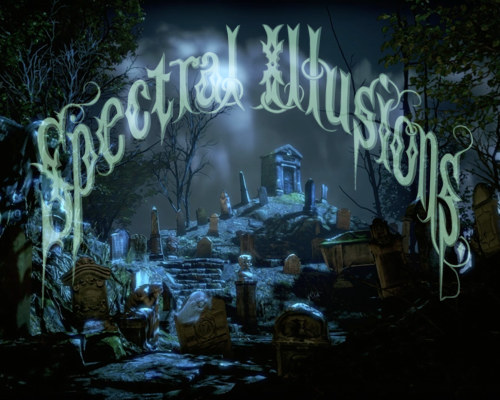
The assorted video clips for this effect are from AtmosFX and Spectral Illusions.
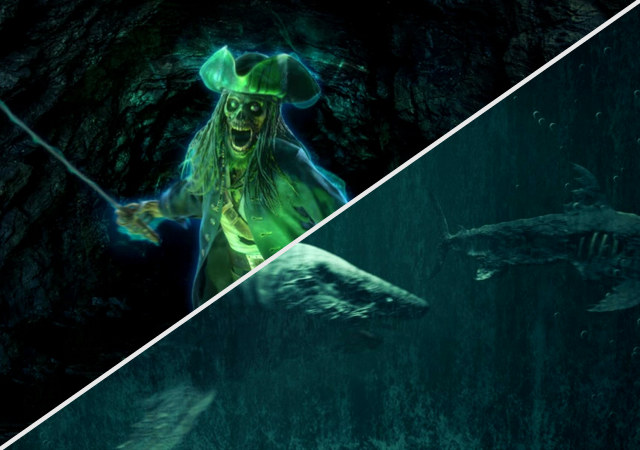
Effects by AtmosFX and Spectral Illusions
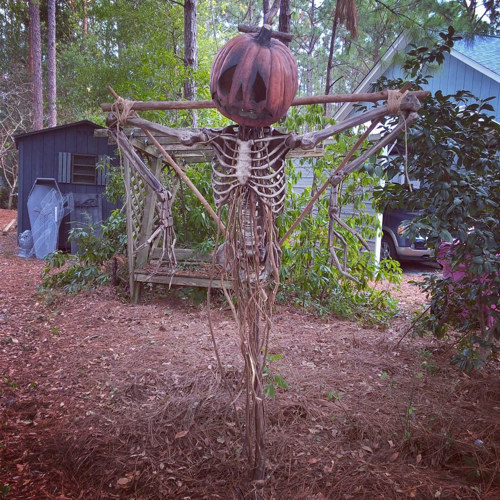
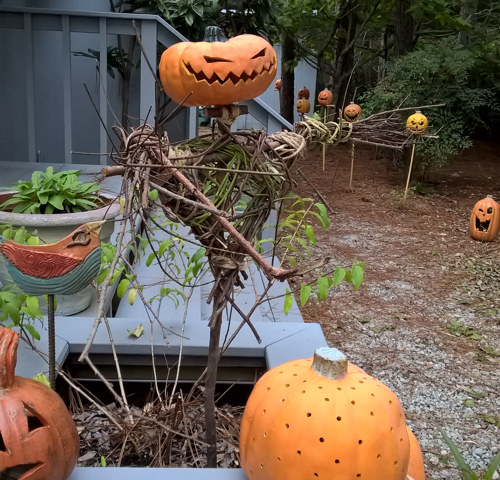
3rd Scarecrow
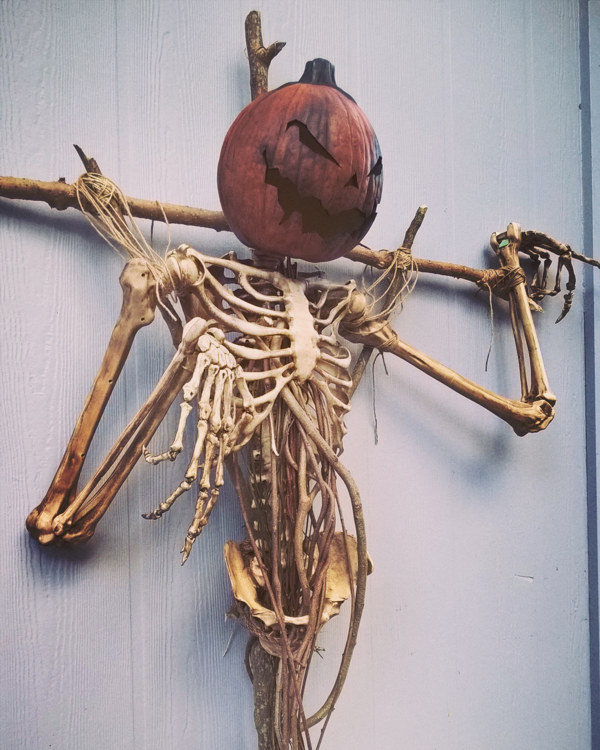
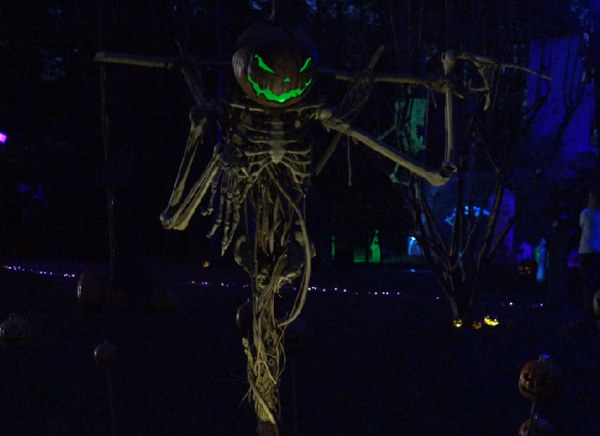
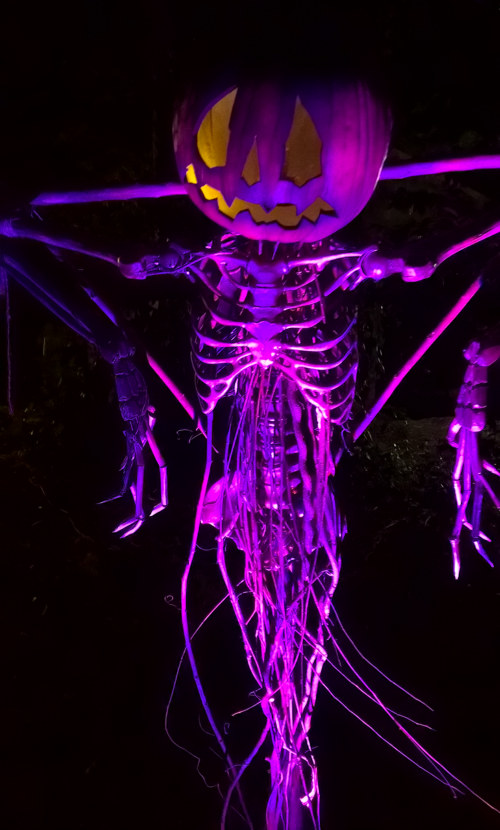
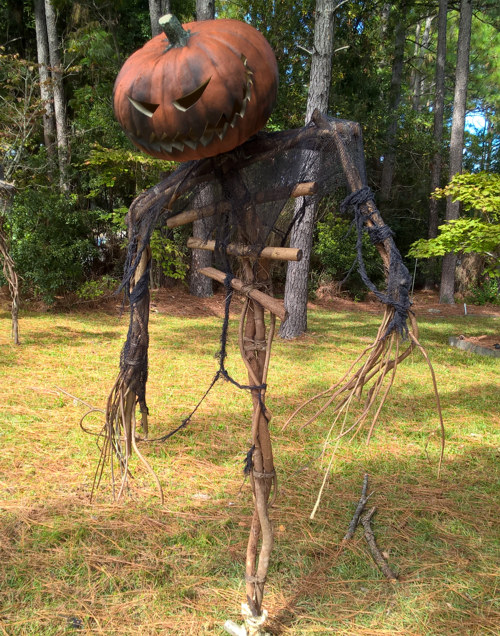
A new scarecrow joined the previous two to welcome visitors. It was built in much the same way, a heavily modified and repainted plastic skeleton torso and arms with custom sculpted hands and a carved pumpkin head. It is also run through with vines and bound to a stick frame.
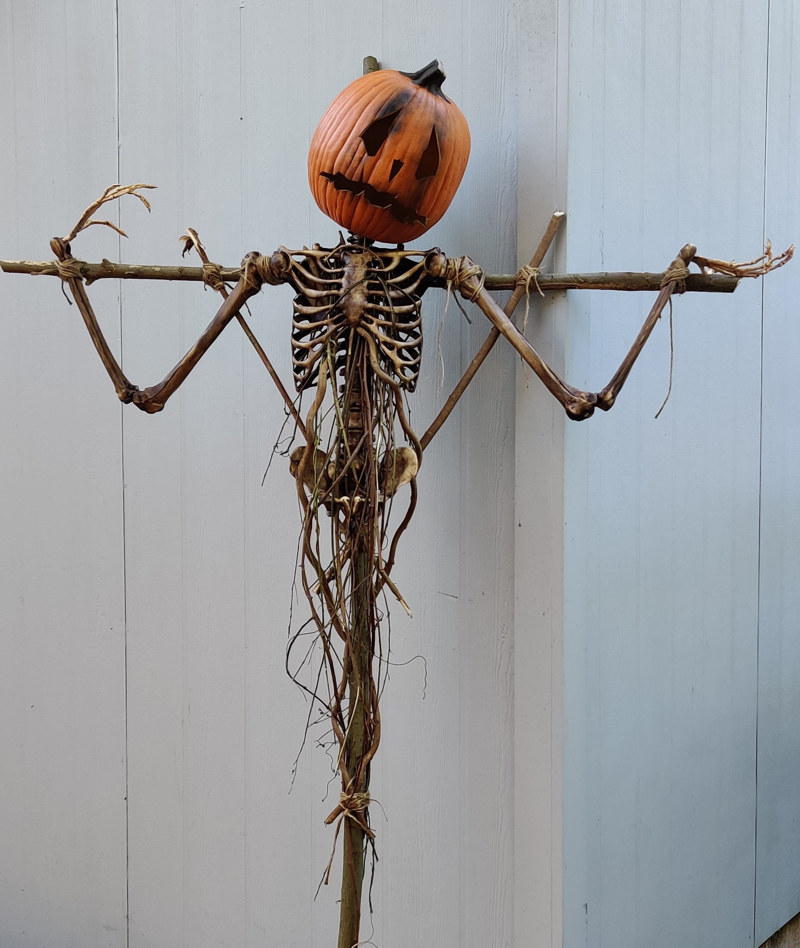
Scarecrow number 3.
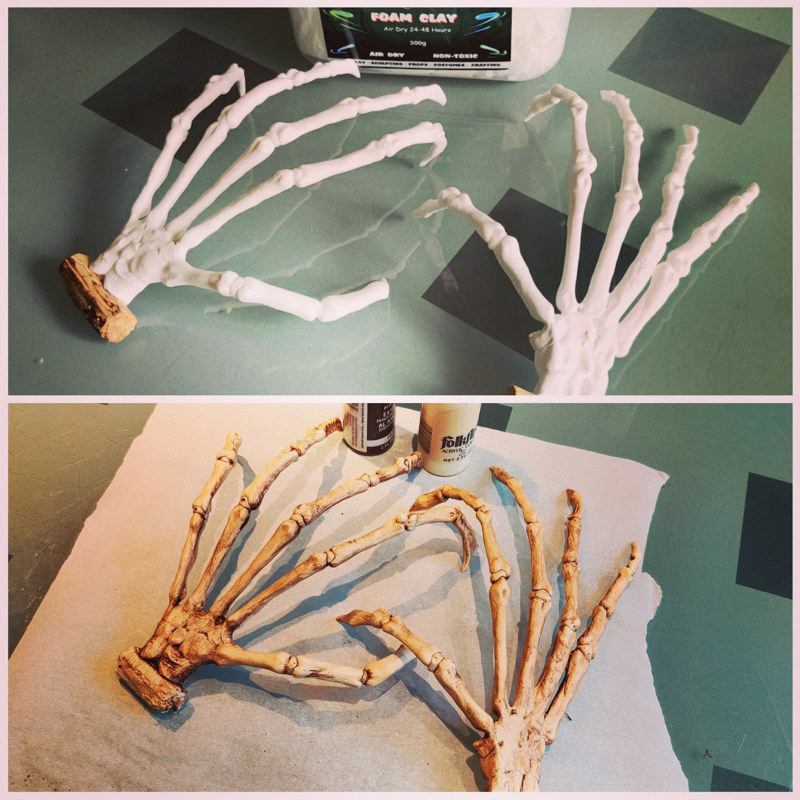
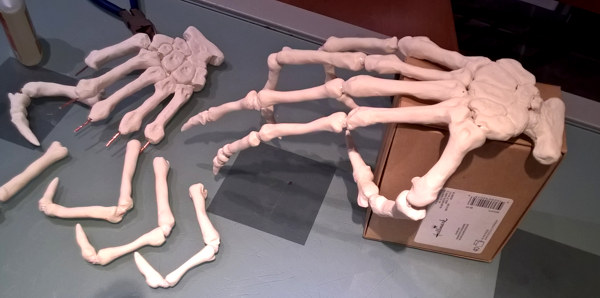
Closeup of the foam clay and wire armature hands, before and after painting.
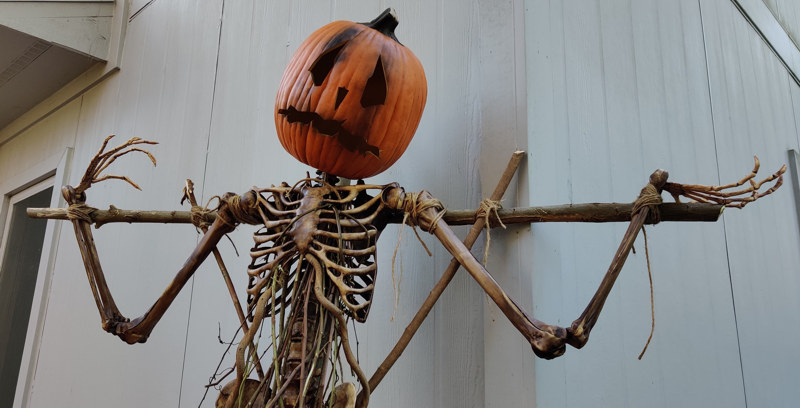
This one is a little more mournful.
Animated Jack 'O Lantern Trio
I projected an animated loop of a trio of jack o' lanterns reciting Poe's The Raven (what else!) onto 3 pumpkins atop a sarcophagus.

The sarcophagus and pumpkins in the daylight...
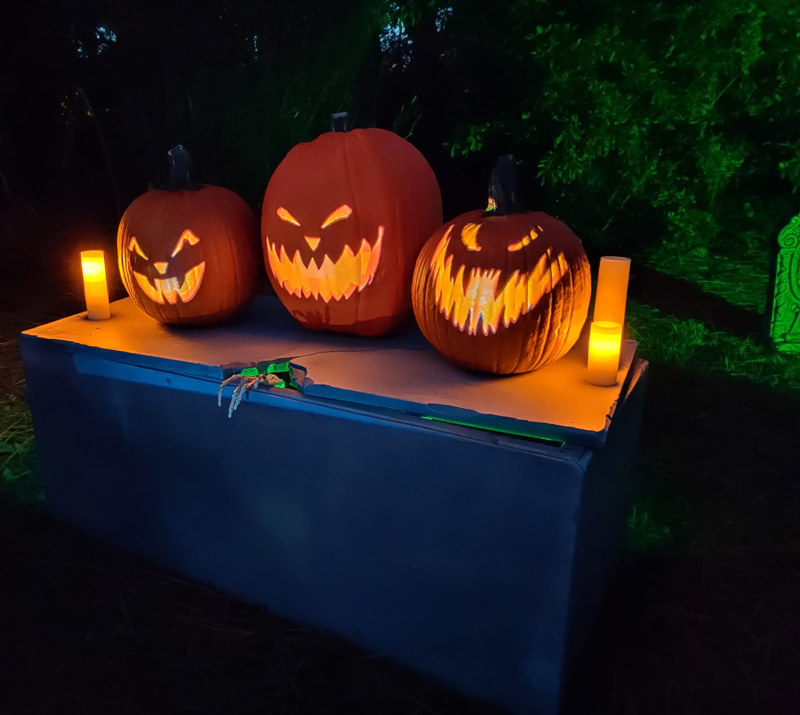
...and after the sun sets.
The clips I used are from AtmosFX.
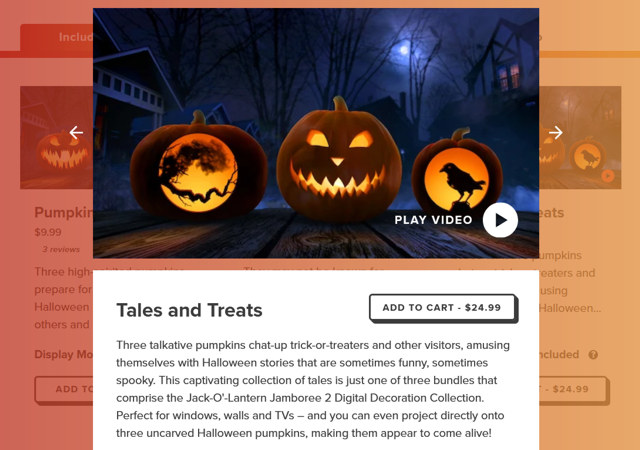
AtmosFX's Jack 'O Lantern Jamboree 2: Tales and Treats clip
Pirate and Mermaid Skeleton Scene
If you've been to the Pirates of the Caribbean attraction at WDW very recently, you no doubt noticed some changes. Sure, the buzz is all about the "redhead", now Redd the Pirate, but I was surprised to see the mermaid skeleton missing from the beach set early in the ride.
Mermaid skeleton shown here for posterity
My goal was to re-create parts of this scene, namely the mermaid and boat wreckage as well as the skewered pirate. I had added a rear-projection of swimming zombie sharks onto a scrim behind the set, but wind destroyed the tent support structure and I had to rework the scene and lighting at the last minute. Disappointing.
The skeletons were painted and modified. We built all the physical props (boat, barrel, crate, etc.) I used a nightlight "ocean wave" projector to create a light caustics wash over the scene to give it an underwater feel.
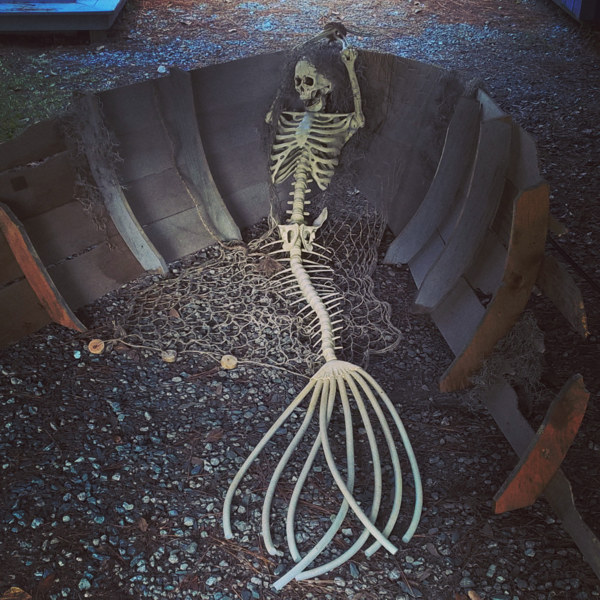
Mermaid skeleton in a boat wreckage
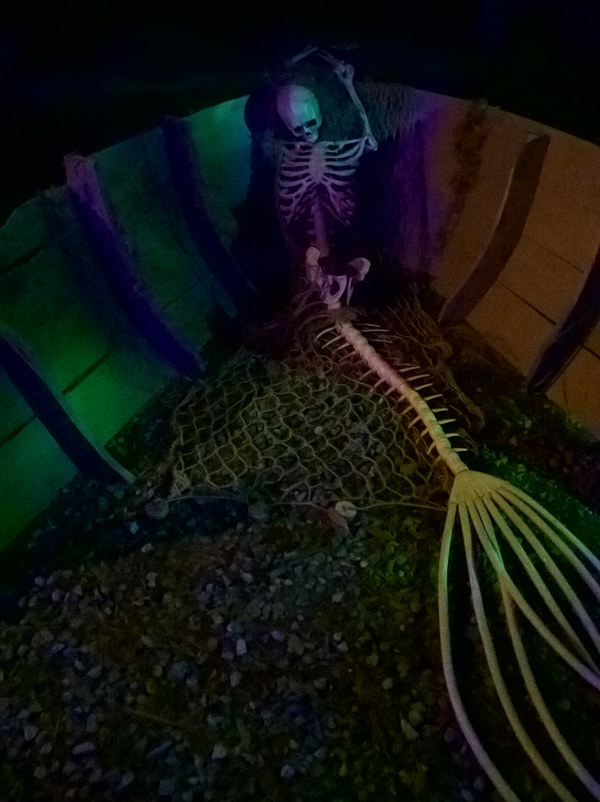
Mermaid skeleton at night
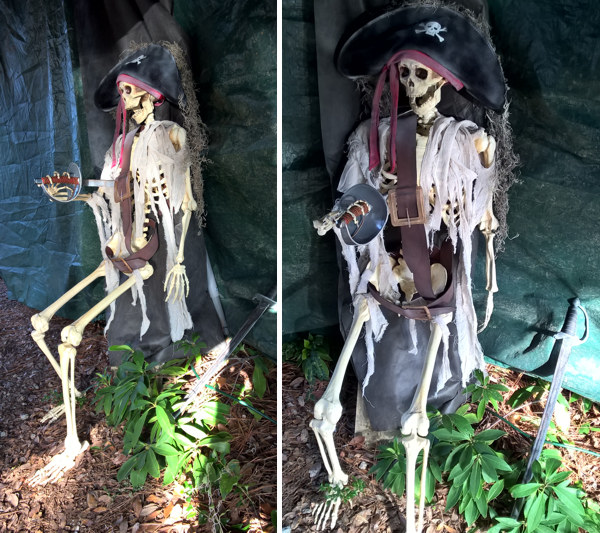
Unfortunate pirate
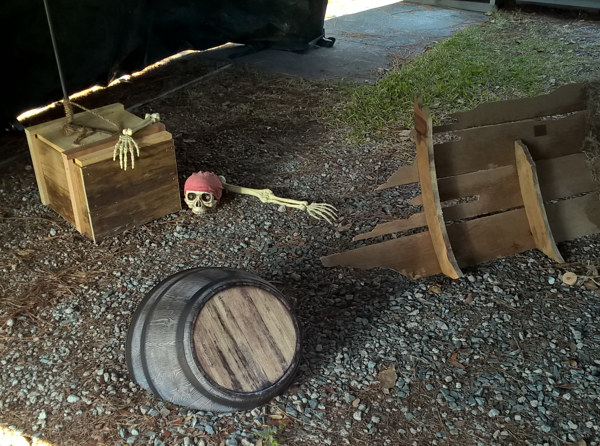
Another unfortunate pirate, plus wreckage
2nd Scarecrow
I've built another scarecrow to pair with last year's. The construction is similar, but the pose and face are different. Both served to greet visitors at the foot of our driveway.
2019's Scarecrow
2019's Scarecrow at night
For the hands, I used Sculpey with a wire armature, rather than the carved wood sticks that I used last time.
Creating hands for the new scarecrow
Bricked-Up Crypt
What graveyard would be complete without a walled-up inhabitant? Thought I'd try to reproduce the bricklayer tomb from the Haunted Mansion to add a bit more substance to the front yard display.
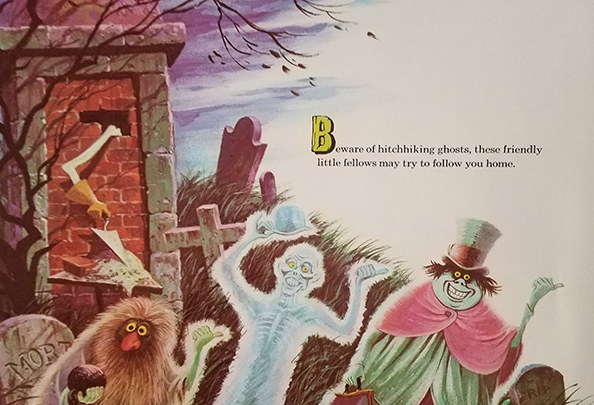
Revenant bricking itself up in more Colin Campbell greatness!
It's just painted foam details on a plywood backing with a skeleton arm. Because it will only be viewed from a narrow angle, it only consists of two pieces - a front and one side.
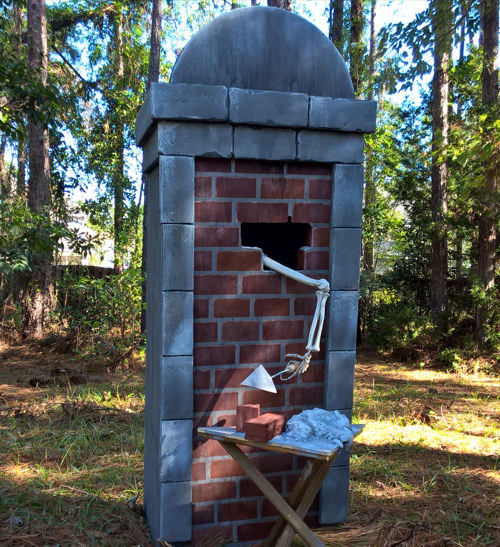
Ready for the cemetery.
Witch Mirror
To complement the witch's area of our yard haunt, I put together an upright "magic mirror" that uses a TV as the mirror's surface. The mirror shows malevolent spirits trapped within.
Warning: kids LOVE to beat on the screen. I'll likely put a plate of acrylic between the frame and the TV next year.
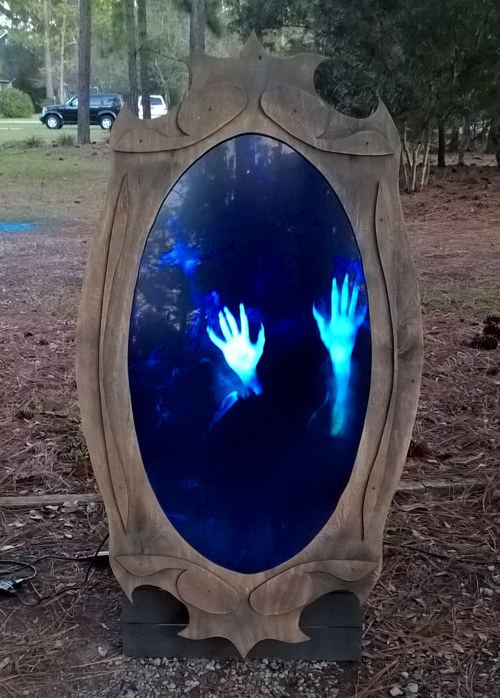
Spooky
The TV has a plywood surround and stand to make it look like a large (5' tall) mirror. The video is from AtmosFX.
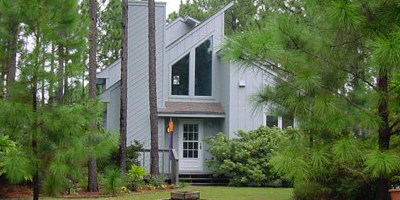
Backdrop Projection
I tried to put together a large-scale projected backdrop for the side of the house to give the illusion of a graveyard scene extending beyond the house.
Spectral Illusion's Ghosts in the Graveyard clip
Pumpkins with the animated backdrop
A large seamless canvas formed the screen. I wasn't able to erect it as originally imagined, so the projection wasn't as large as I would have liked, but it was still neat.
Scarecrow
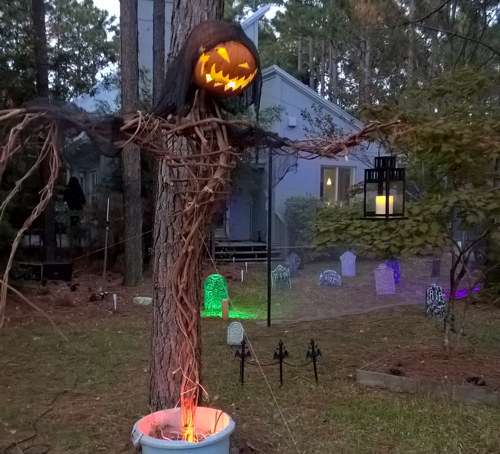
I built another Pumpkinrot-inspired scarecrow to replace our Pumpkin King, which didn't survive Hurricane Florence. This one uses a poseable, plastic skeleton as the core of the body. Sprayed and wiped off paint helped to achieve a better look, and I replaced the arm bones with the legs to make longer, creepier arms. The hands I had to build from scratch using wood, sticks, and wire. Lots of added vines complete the effect. Credit for the inspiration and the specific design of the jack o' lantern head goes entirely to Pumpkinrot.
During the day
At night
Mausoleum
The main project for 2017 was a 6-foot tall mausoleum with a rear-projection screen in the doorway. I patterned it after one of the crypts shown in the artwork featured on the Disneyland Haunted Mansion album I had as a kid.
The facade is mostly styrofoam cut and shaped to fit. The columns were made from a cardboard concrete form (for making concrete posts, etc.) that I cut in half. Each column is topped with half of a plastic bowl. The sides and roof panels are 1/2 inch styrofoam sheets of insulating sheathing over a wood frame. The inside walls are covered with black plastic to prevent the interior lighting from any light bouncing back off the screen when the projector is running. The cardboard forms for the columns delaminated and came apart from humidity and rain by Halloween, so I replaced them with halves of a plastic bollard.
You can see some of the projection in action in the video on the 2017 Display page.
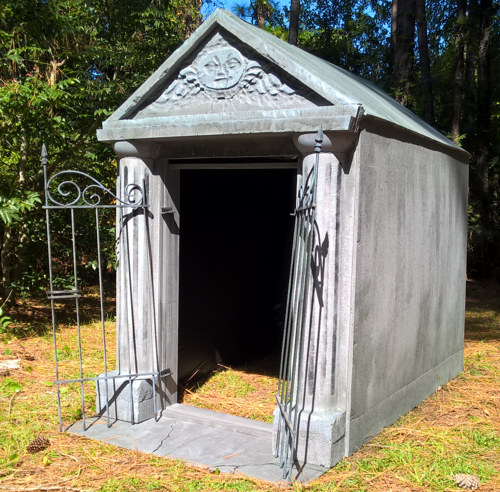
Ready for Halloween!
Pumpkin King
Inspired by the Jack's scarecrow in the Nightmare Before Christmas intro and some fantastic stick and vine scarecrows I saw years ago, we made an 8-foot Pumpkin King.
The Pumpkin King
My son and I constructed him out of some branch cuttings and grape and wisteria vines from our yard. We used hemp twine to tie parts together. His head was a real pumpkin. The weight created problems, as it made him exceptionally top-heavy. We had to use guylines to keep him from swinging or falling over. We replaced it with a large Fun-kin the following year.
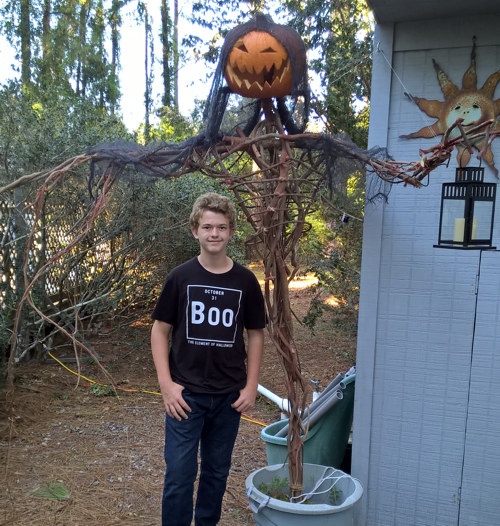
Griffin with the finished structure
The base was held in place by "planting" the central vertical support in a large pot. We used several orange-coated Christmas tree lights in the pot to uplight him with a nice, creepy glow.
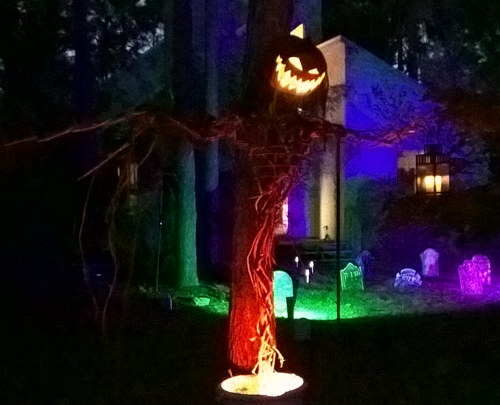
Pumpkin King at dusk
The only inorganic material in the structure is some heavy gauge wire in the fingers of the left hand. This is to support the metal lantern, which is also quite heavy with a large flameless candle in it.
Scarecrow
I had some time, so I made another scarecrow to accompany the Pumpkin King from 2016. This one is based upon one I saw posted on the site of the indisputable master of scarecrows, Pumpkinrot.
Not as creepy as the one that inspired it, but I'm happy with it
Small Scarecrow
Griffin also made a small vine & twine scarecrow.
Pumpkin Prince
We used a carvable foam pumpkin for the head on this one.
Graveyard and Projection Illusion
The main attraction to our 2016 display was the illuminated graveyard with ghost illusions. The setup has been reused every year but expanded with more features and new ghosts.
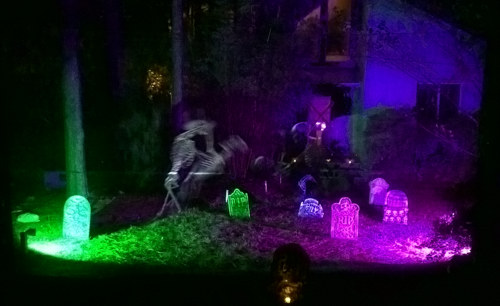
A bad still picture really doesn't do this justice
All the headstones were the lightweight styrofoam types available everywhere. I think we picked up most of ours from Party City and dollar stores.
The lighting was from two 10 watt LED floods. These things are incredibly versatile. There are many of these available in various wattages at Amazon.
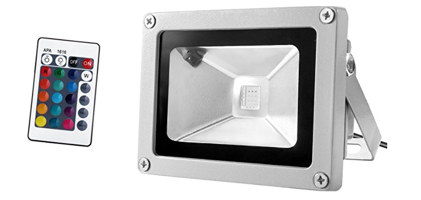
Typical 10W LED flood light
It's worth noting that to make the illusion work really well, the lighting of the entire scene must be right. It looks so much better when the background scenery behind the projection screen is illuminated, but too much will overpower the projected image. It is also necessary to position lights carefully to avoid any light falling on the screen, other than from the projector.
Although only one is (barely) visible near the bottom of the photo above, we also used dozens of flickering LED tea lights as accents. Those can be obtained cheaply in quantity from eBay.
The central effect - the ghostly spirits and skeletons - was created with a hidden projector throwing a looping video sequence onto a sheet of gray tulle from behind (rear projection). The tulle was stretched between two black wood posts. You can see one of the posts and the bottom edge of the tulle in the topmost Pumpkin King photo. At night, this screen disappeared completely. Finding the right material was a process. If you're interested in what I found using various fabrics, I've detailed my findings here.
The illusion is really impressive. I couldn't stop watching it, even knowing every behind-the-scenes detail.
Tombstone Projection
I projected an animated loop onto a blank headstone cutout. I cut the headstone shape from 2 1-inch foam panels then glued them together to bulk up the thickness.
The clip I used is from Spectral Illusions, one of two sites that I have used for all our Halloween projections.
Spectral Illusion's excellent Haunted Tombstone clip
"Following Eyes" Portraits
Had some spare time during a rainy day and decided to try and reproduce a couple of portraits - those of a couple of the "Sinister 11" that hang in the Doombuggy loading area in the WDW Haunted Mansion. These are designed with a simple, but effective construction that creates a convincing parallax illusion of the eyes following the viewer.
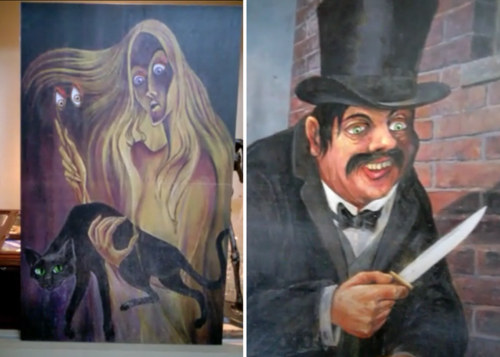
You have to move around them to really appreciate the effect.
My versions are just color copies of the artwork glued to foamcore with the eyes cut out. The eyes were printed on separate copies glued to another foamcore sheet spaced 1/4" behind the first. To make the effect convincing, and to draw attention to the eyes, I taped a single, button battery-powered LED to the back of the eye layer foamcore near each pair of eyes.
Window Projection
In 2016, I did a window projection illusion in the back of our house for a Halloween party.
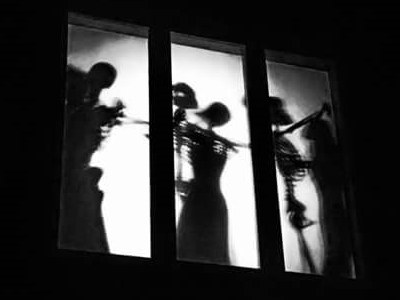
Wish I had better photos, but the effect was great
In 2017, we projected a different sequence into the large upper windows on the front.
The unusual shape created a challenge
Due to the shape of the windows, I had to reorient and composite the clips to make a vertical presentation that fits the double space. The various clips were edited into a looping video sequence. All the clips I used are from two excellent sources: AtmosFX and Spectral Illusions. I stretched light gray nylon tulle over the inside of the two windows, although for 2016's window display, dollar store white plastic tablecloths worked pretty well.
You can see some of the window projection in the video on the 2017 Display page.
Other Small Projects
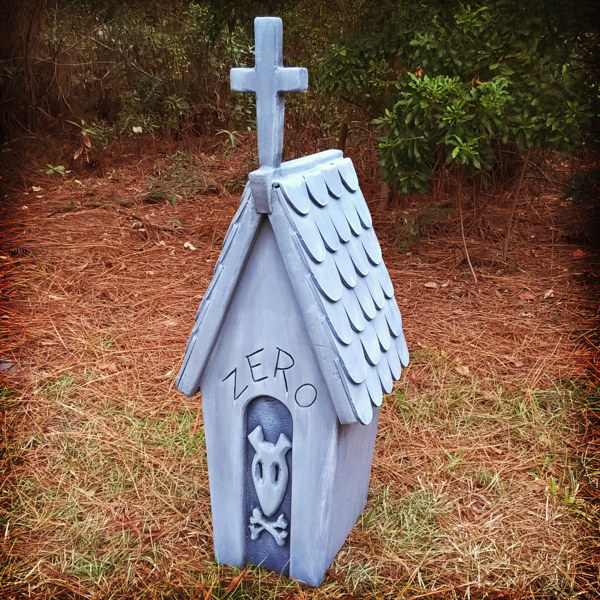
There are several minor props I'm making between the larger projects while paint is curing, the weather isn't cooperating, etc. I'll post photos of them here as they are completed.
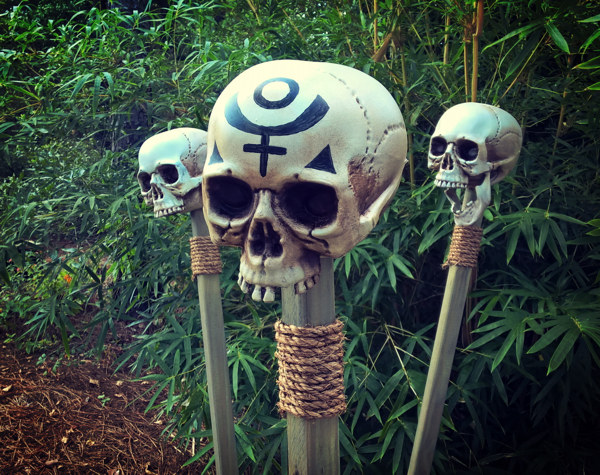
A warning to the curious
New addition for the cemetery
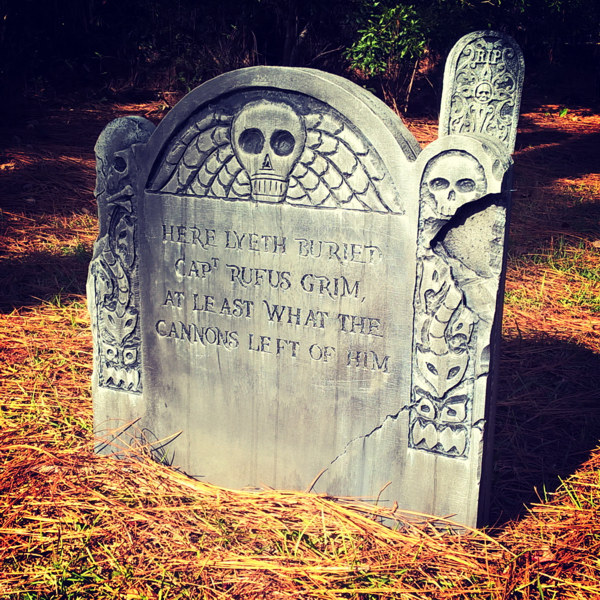
Headstone for a pirate who met a messy end
